How to Use Capcut App on Android/PC 2024?
CapCut is a widely recognised and well-known video editing platform for generating online short-form content. Its paramount ability to edit videos is fantastic on the device. Creators across major social media platforms like Twitter, Instagram, and TikTok highly favour it.
While CapCut performs exceptionally well on mobile devices and provides basic and advanced features, content creators prefer editing their videos on computers. This is where the official CapCut APK for Mac and Windows becomes precious, as it provides all the functionalities in the mobile version and even a few additional ones. In this post, we’ve shared more information about How to use CapCut.
Quick Guide How to Use Capcut App for PC
Once you have successfully installed the CapCut app on your PC or Mac, you can follow this tutorial to learn how to edit a video using the program:
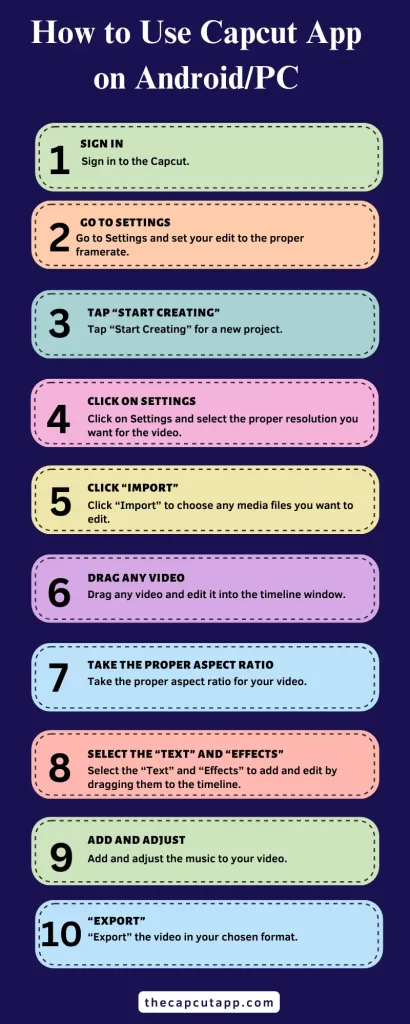
How to Use CapCut/How to Edit on CapCut?
Get the CapCut app and open it on your device.

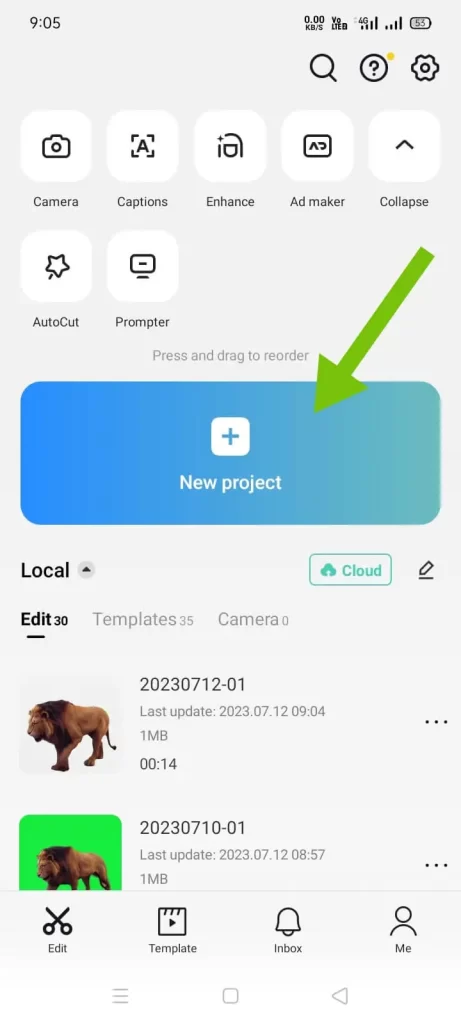
Preview a new project and tap on “New project”. It will open the gallery to make the selection for your project.
Choose the video you desire to edit and click on “Add”.

Edit the video according to your needs.
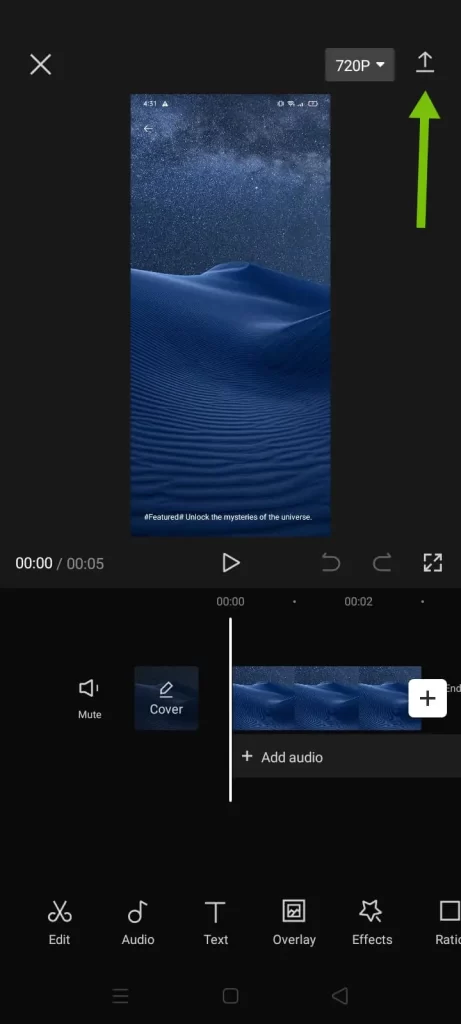
Now, click “Save” or “Export” in the right corner and share on Facebook and other social platforms.
How to Use Overlays?
The overlay is a powerful strategy commonly used in various fields, such as adding text, photos, and videos. Overlays can enhance the professional look, convey information, or create an immersive experience that significantly impacts viewers. It also permits adding elements, effects, and filters to the video and text.
How to add Text Overlay on the CapCut App?
We are given below the step-by-step method for How to add Text Overlay on the CapCut app:
Step 1. Get the CapCut app and open it on your mobile.
Step 2. Look at a new project and tap on “new project”.
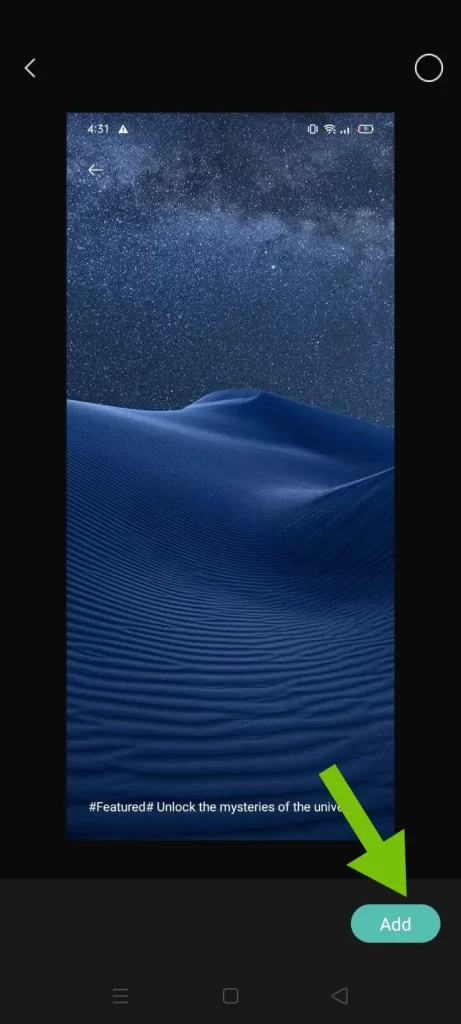
Step 2: Select an ‘image’’ from the photo you want to choose and click on the ‘’Add’’button.
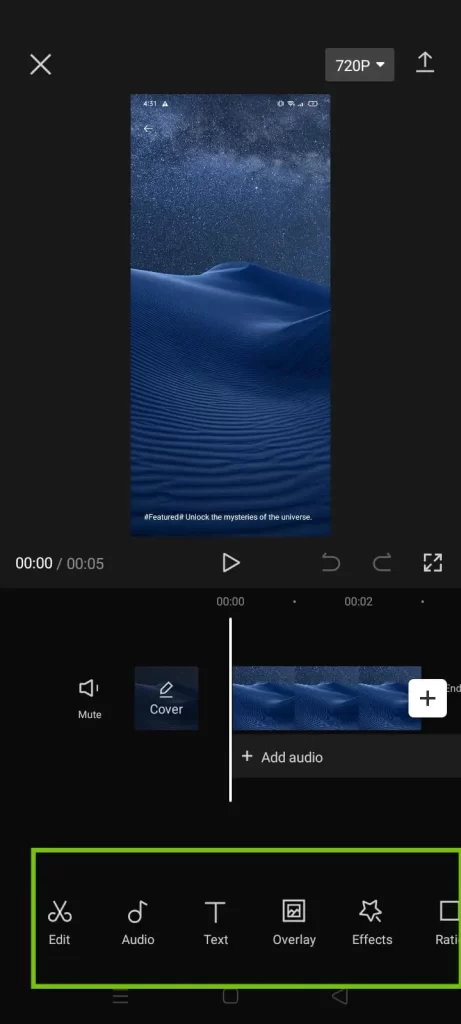
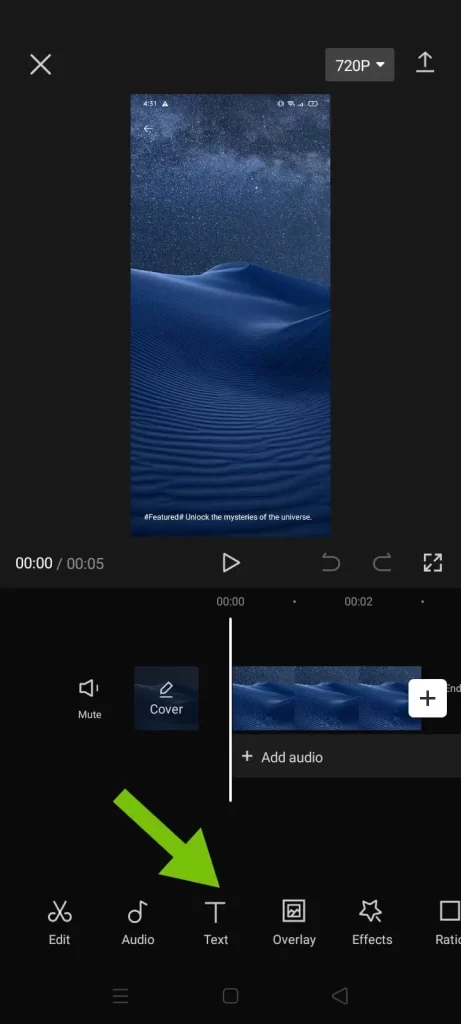
Step 3. Select a ‘’Text’’ from the bottom of the toolbar.
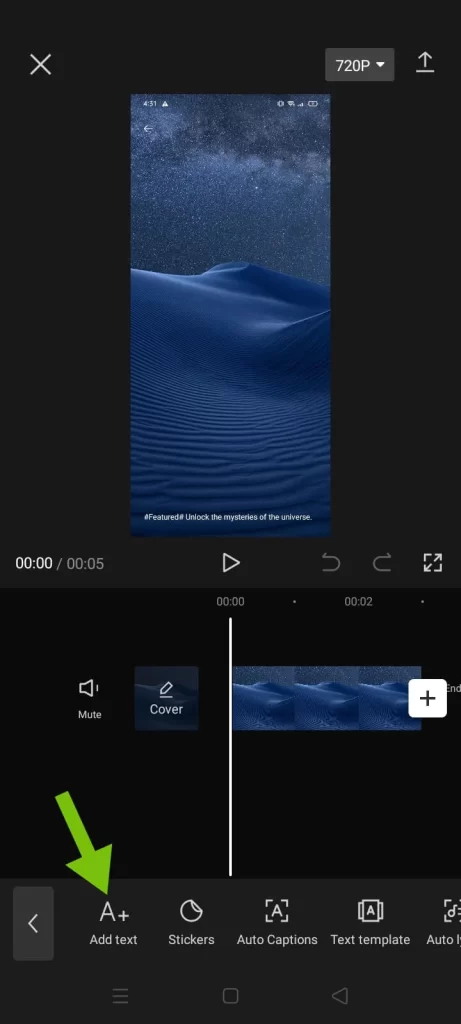
Step 4. Click on “Add text.”
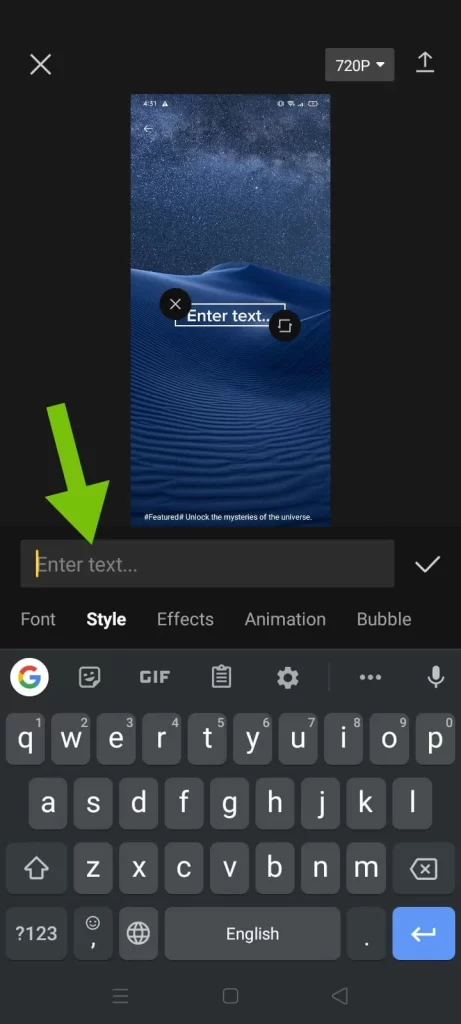
Step 5: Type the text manually on the ‘’Enter Text’’.Additionally, you can adjust the text overlay, unique effects and style in videos by dragging it.
Step 6: Click “ Export’’ your favourite text overlay in the put box. You can share this text on TikTok, Instagram and other social platforms.

How to Add Video Overlay on CapCut?
Launch a CapCut app.
Click on ‘’New project’’.
Tap on ‘’Overlay’’ located from the toolbar at the bottom side.
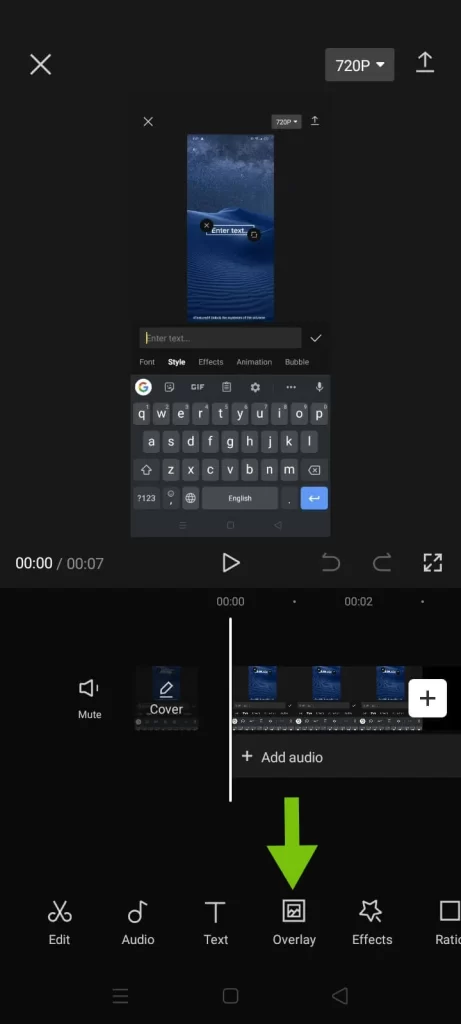
Select ‘’Add overlay’’ choose the desired overlay videos and drag and zoom the overlay video to position it over the backdrop, resulting in both videos appearing on your screen.

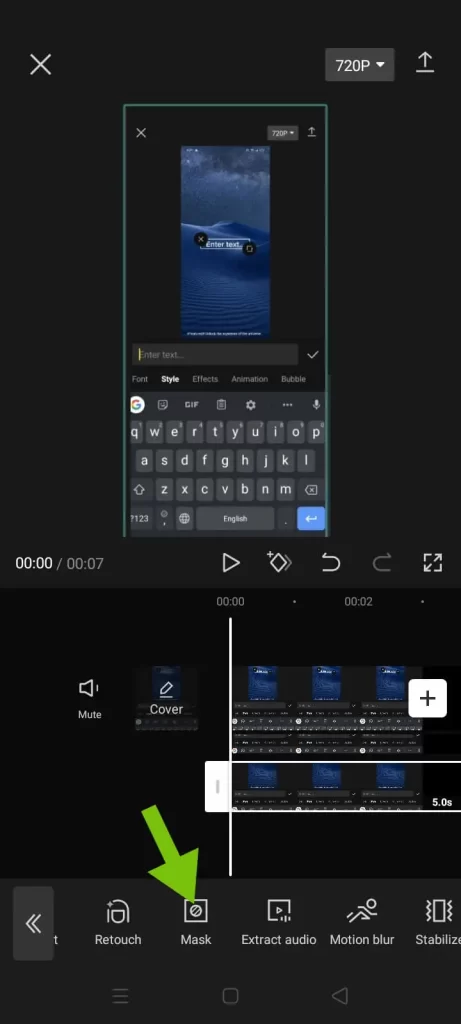
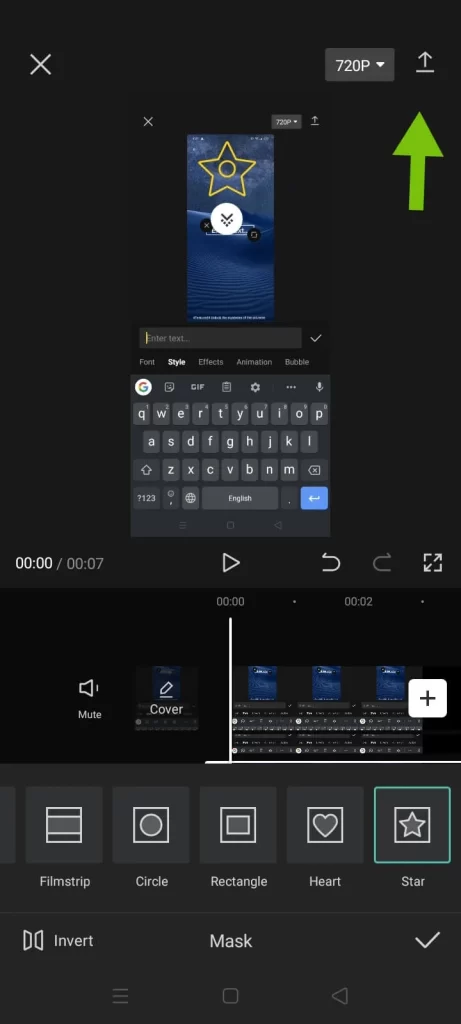
Apply a mask to your overlay video by select on “Mask” at the bottom and clicking a mask style for the overlay video.
Preview your changes, then ‘’Export’’ your videos. This video can upload on different social platforms.
How to Use Green Screen in CapCut?
Green screen is famous in this modern age, allowing you to remove any video’s background. The green screen is also utilised for videos.
Let’s describe How to do this in CapCut.
First, you must download and install the latest version of CapCut APK on your mobile phone.
To get started, open up the CapCut app, and then go over to your existing CapCut project or create a new one. I’m just going to create a new project.
After clicking the new project leads you to the gallery to select the image or video which will act as a new background. In the given images, I’ve chosen the white image.
When you’ve selected the image or video, click “Overlay” and “ Add Overlay”, which will be available in the centre of the bottom toolbar.
After clicking the “Add overlay” option, your device’s gallery will reopen. Now, select the image or video having a green screen. I’ve selected a video with a green screen.
Once you import that file, you can adjust its size to fit the scene. Just with your two fingers, you can zoom in on the video.
Swipe through the toolbar at the bottom until you see an option called Cutout. Once you find it, simply tap on it. And now you’ll see three different options.
Since we are working with a green screen, tap the chroma key. A circle will appear on the screen.
And then, select the colour you want to remove by swiping the circle. In this case, it’s green.
Once you select the green colour, tap on Intensity, then adjust this slider. You’ll see that the green background will disappear as you increase it. And if you have color leaks around your video, tap on Shadow. And play around with the slider until it’s fixed. So now, if I play this, you can see it has no green.
So now all you have to do next is tap on the Export button at the top right corner of the screen and save it to your gallery.
Note: Only the CapCut mobile application renders the Customized Cutout option.
How to Use Graphs Effectively in CapCut?
Graphs play a crucial role in video editing and make unique and amazing videos that significantly impact your audience and enhance the creator’s experience and quality of videos.
Graphs are not accessible without a keyframe.
You must add a keyframe to your video clip to use the graph.
Launch a CapCut app.
Click on ‘’New project’’.
Choose the desired video for editing.
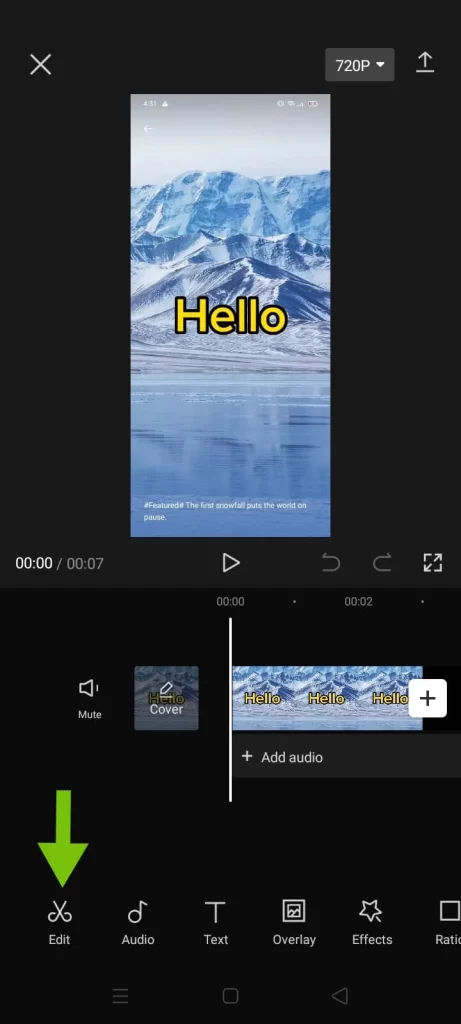
Tap on the ‘’Edit’’.
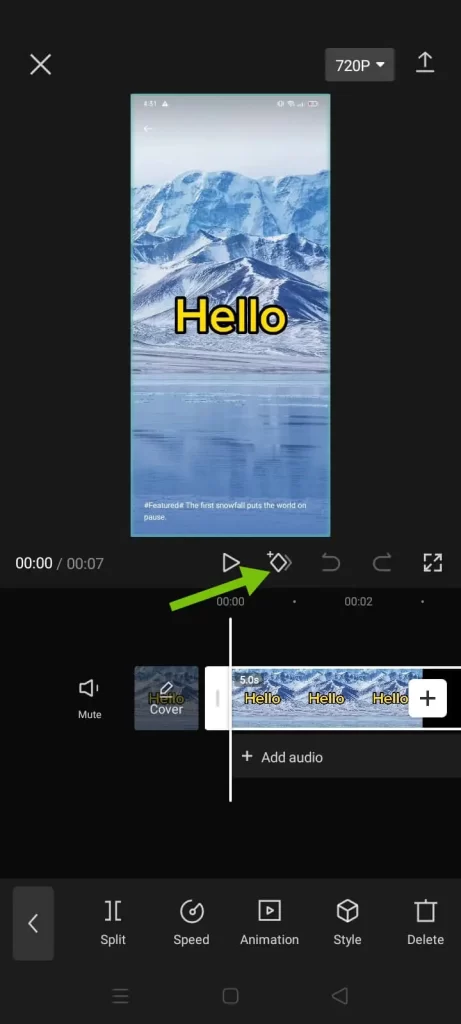
Click on the ‘’Keyframe symbol’’.
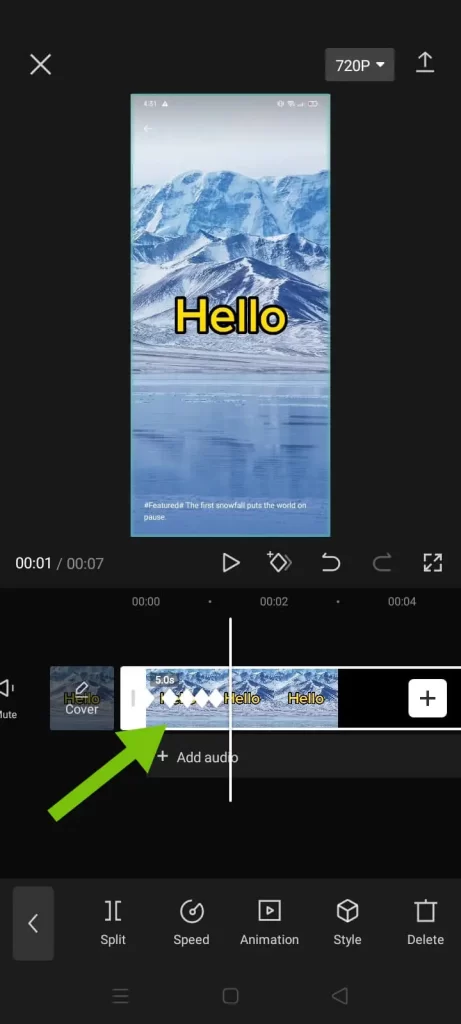
Add more keyframes on the desired locations of the video by moving it to the right side.
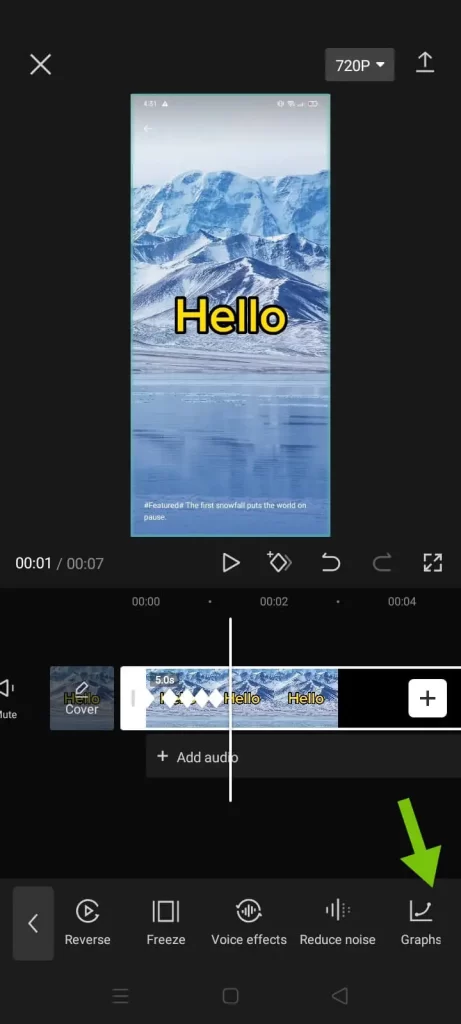
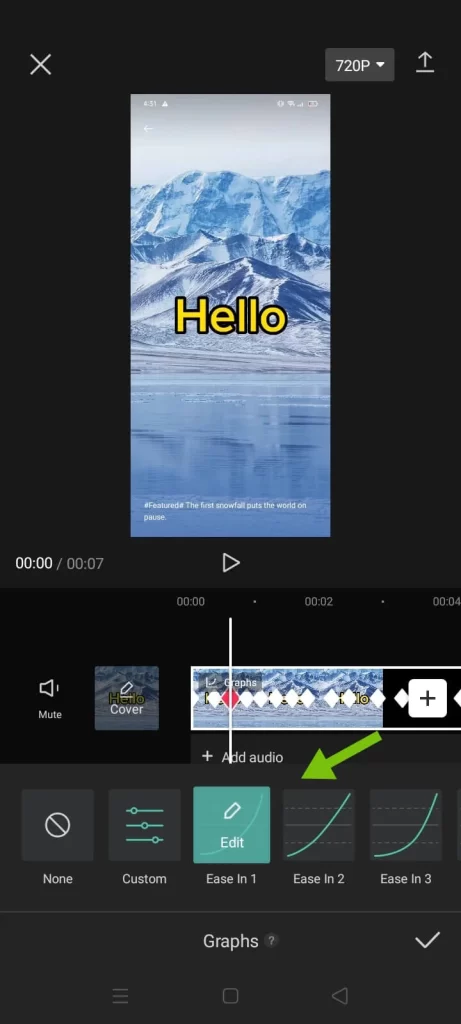
Click on the “Graph” in the lower right corner and move your menu bar to find the graph menu.
You will get numerous customization graph options and select any out of them, or you can move ahead without modifications by simply choosing the “None” option.
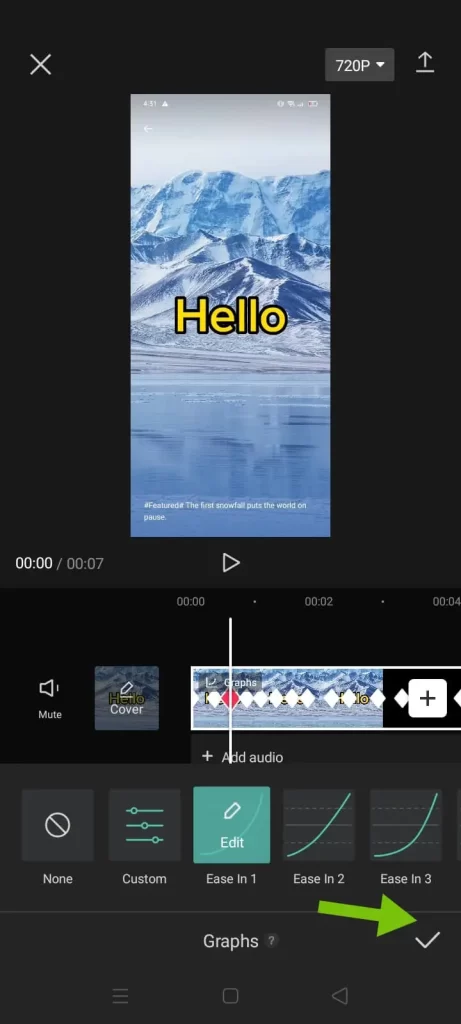
Press the tick option to save the changes and play the video.
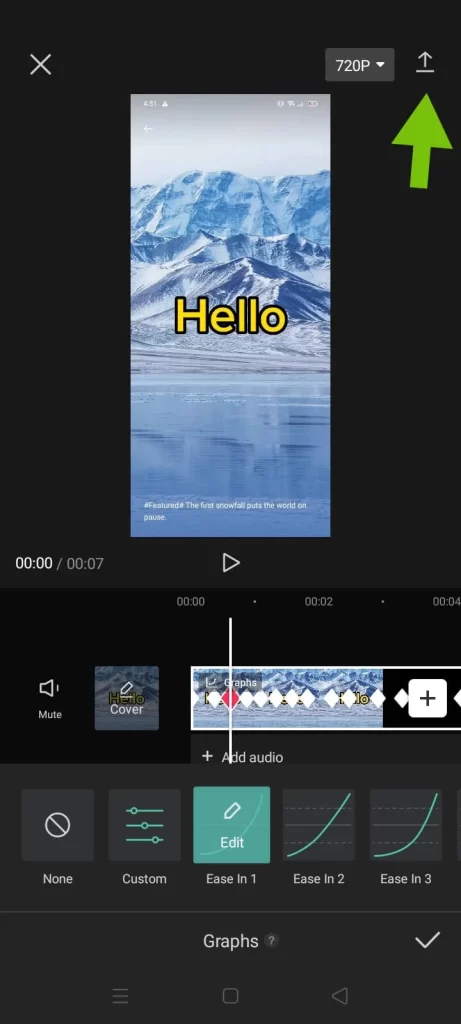
Tap on the “Export” button.
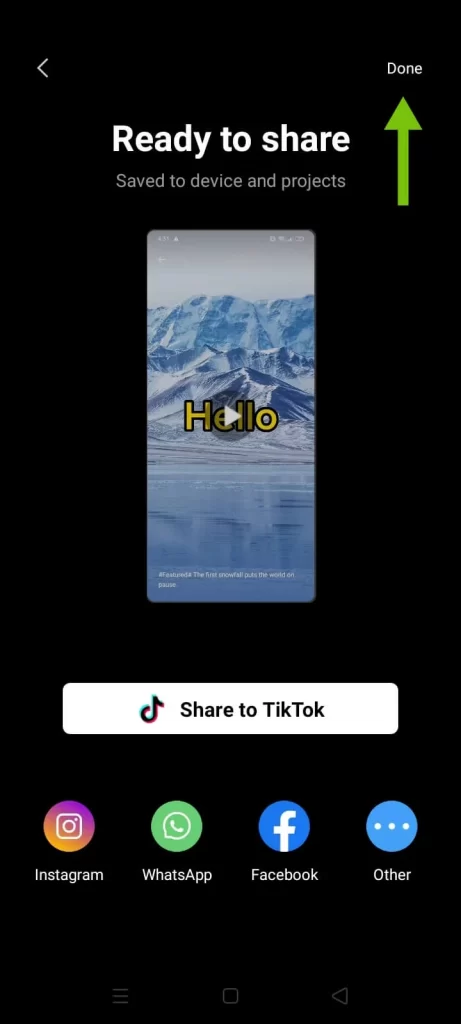
Save the video to your gallery by clicking the “Done” given at the top right corner.
How to Remove CapCut Watermark in Video Ending?
We describe How to Remove CapCut Watermark in Video Ending methods:
Step 1. Open CapCut Project
Open the CapCut application, tap “New Project,” and choose the video you want to edit.
Note: CapCut also allows users to remove the watermark of already installed projects.
Step 2: Slide the Clip to the Right.
Now slide the video timeline to the right side until the CapCut logo is shown.
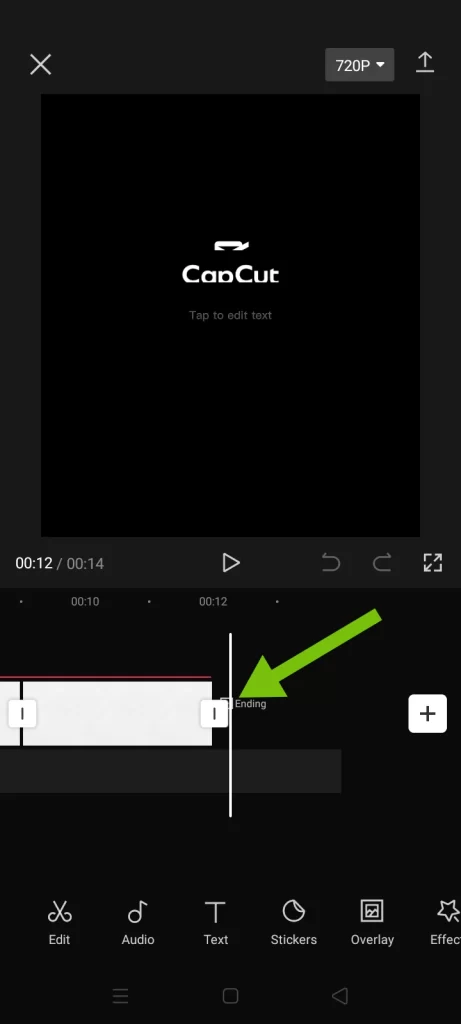
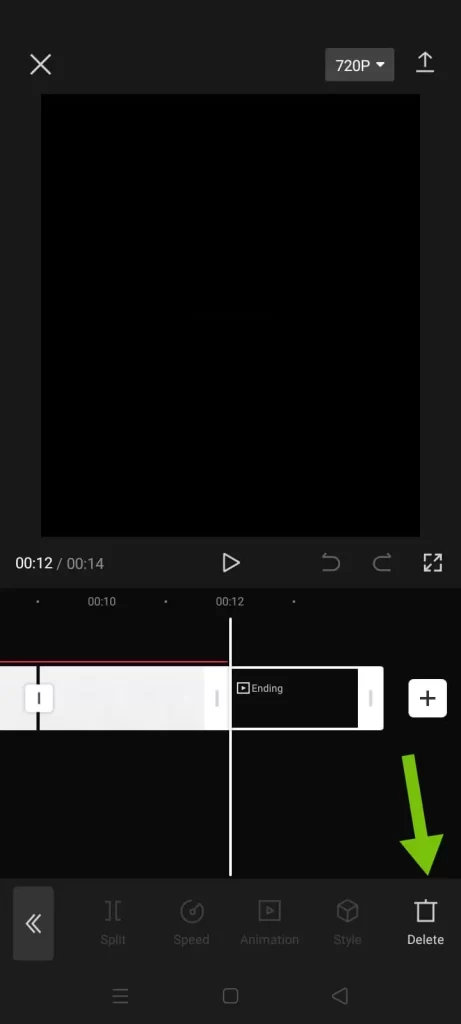
Step 3. Remove Watermark Ending
Select the ending system in the timeline where CapCut starts and ends. A delete menu popup will show, and now click the ‘’Delete’’ button at the bottom to delete the CapCut watermark permanently.
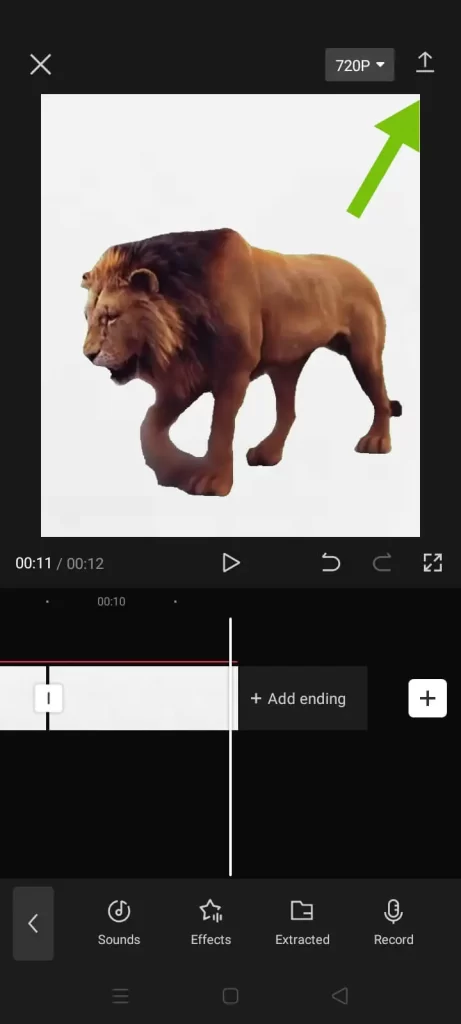
Step 4. Export Your Video
Continue editing your video and press the arrow icon at the top-right corner & ‘’Export’’ your video. Next, save it to your device and hit ‘’Done’’. Moreover, you can upload it on TikTok and share it on Facebook and other social media.
FAQs
Closing Thought On How to Use CapCut
CapCut app offers a fantastic video editing experience for creators without any trouble. The mobile version provides a convenient option for on-the-go editing with many features. However, the users are seeking the better performance of hotkeys by downloading the official CapCut program. Its straightforward installation process and amazing effects make it accessible to users of all skill levels. Whether you’re a social media enthusiast, TikTok creator, or someone looking to enhance their videos, then CapCut is an excellent choice for your editing. The story cut short, it was all about how to use CapCut app, if you’ve any questions, hit the comment section or contact us directly without any hesitation.


